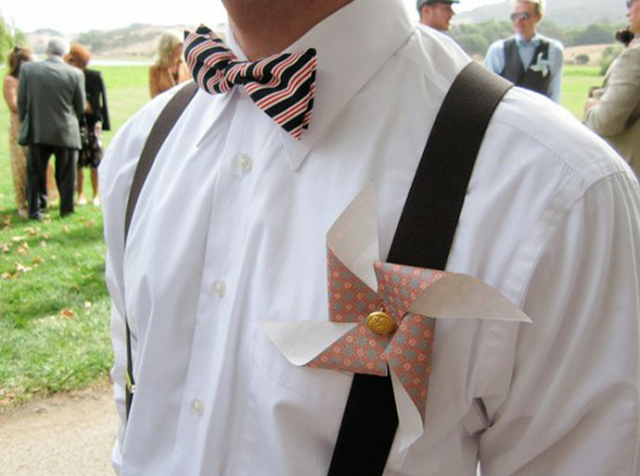
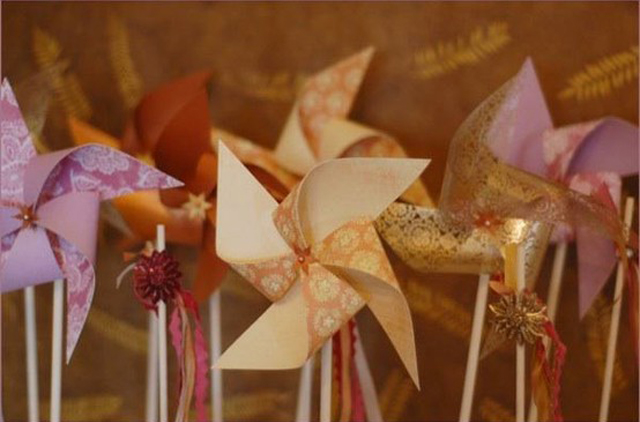
There are so many cute and fun ways to incorporate d.i.y. pinwheels into your special day. Whether they are adorning your cake, sprucing up your bridesmaids' bouquets, or acting as a boutineer for the guys, these nostalgic novelties can be created is any color and size, and are sure to bring a smile to everybody's face.


D.I.Y Instructions via Ruffled.
What you’ll need:

Instructions:
Step 1: Measure the origami paper across the diagonal and mark the center point. From about a 1” radius from the center mark, cut along the diagonal to each corner. Dab some PVA glue on the center mark and fold in one of the eight bisected corner sections, so that the point is about a half inch beyond the center of the paper. With a dab of PVA glue between each layer, fold down alternating corner sections (should look like a pinwheel at this point).
Step 2: There are various was to sew the button on to the pinwheel, but here’s how I did it, which minimizes slack in the thread holding the button: Use the paper awl to puncture two holes in the center of the pinwheel (Note: awls make good sized holes, so be sure to space your holes far enough apart to not have them perforate into each other, but not wider than the diameter of the button you are using). Double-knot the end of your book binding thread. From the back of the pinwheel, stitch through the button and back out, gently pulling taut. Since bookbinding thread is nice and thick, sew through the thread, just under the double-knot, and gently pull taut (you should now have a flat bit of thread between the two holes). Tie a knot by looping under the flat bit between the holes, and, before pulling taut, loop back through the slack left on the other side of the flat bit. Trim any excess thread.
Step 3: Put a healthy dollop of E6000 glue on the back of the pinwheel over the knotted area. Lay a clean pin backing or wooden dowel, and gently press into place. Let dry (face down) for at least an hour.
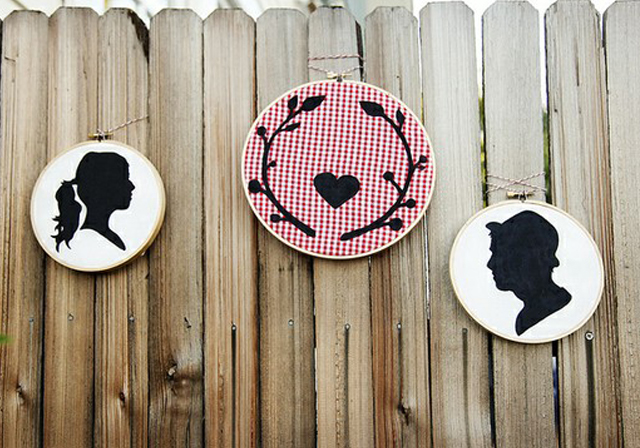
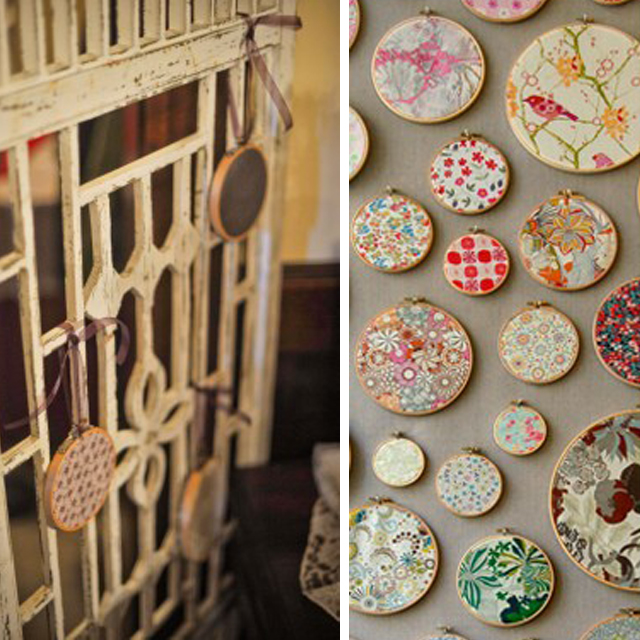
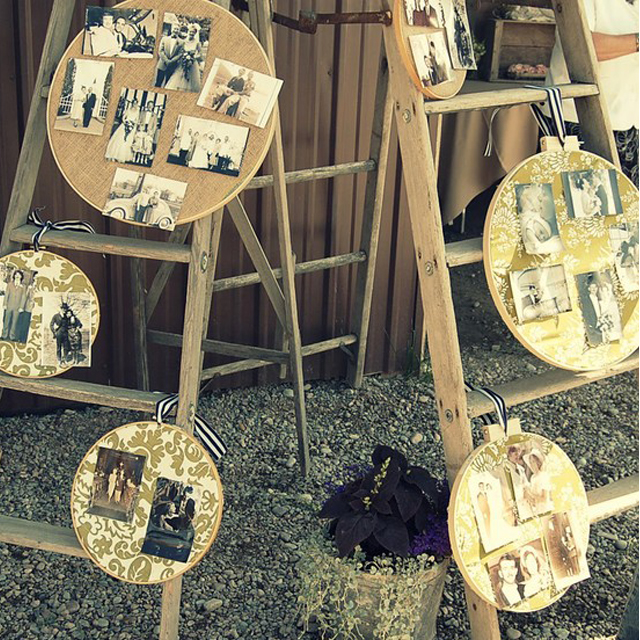
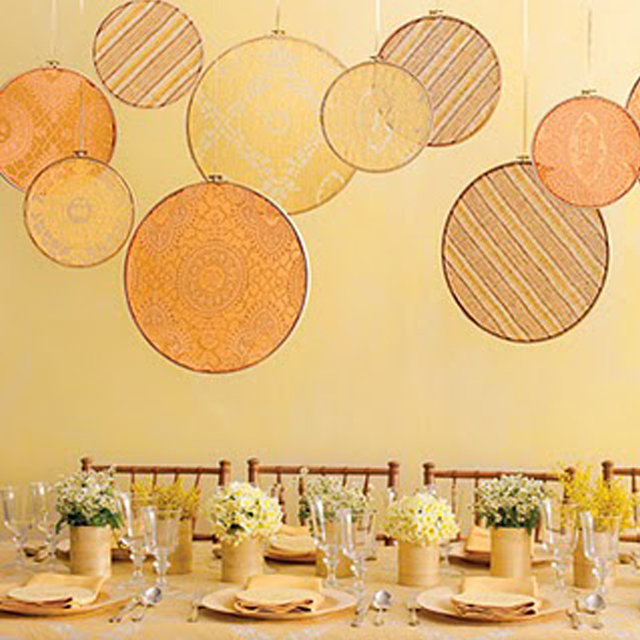
Images via: 1/2/3/4/5/6/7/8/9/10/11/12/13/14/15/16/17/18.
D.I.Y Instructions via Ruffled.
What you’ll need:
- Origami paper (4.5 x4.5 inches)
- Buttons or pins for middle of pinwheel
- Pin backings or wooden dowels for back of pinwheel
- Cutting mat
- X-acto or snap blade
- Ruler
- PVA glue or E6000 glue
- Needle and thread
- Optional: heavy duty paper awl, bookbinding needle and thread (instead of other needle and thread)
Instructions:
Step 1: Measure the origami paper across the diagonal and mark the center point. From about a 1” radius from the center mark, cut along the diagonal to each corner. Dab some PVA glue on the center mark and fold in one of the eight bisected corner sections, so that the point is about a half inch beyond the center of the paper. With a dab of PVA glue between each layer, fold down alternating corner sections (should look like a pinwheel at this point).
Step 2: There are various was to sew the button on to the pinwheel, but here’s how I did it, which minimizes slack in the thread holding the button: Use the paper awl to puncture two holes in the center of the pinwheel (Note: awls make good sized holes, so be sure to space your holes far enough apart to not have them perforate into each other, but not wider than the diameter of the button you are using). Double-knot the end of your book binding thread. From the back of the pinwheel, stitch through the button and back out, gently pulling taut. Since bookbinding thread is nice and thick, sew through the thread, just under the double-knot, and gently pull taut (you should now have a flat bit of thread between the two holes). Tie a knot by looping under the flat bit between the holes, and, before pulling taut, loop back through the slack left on the other side of the flat bit. Trim any excess thread.
Step 3: Put a healthy dollop of E6000 glue on the back of the pinwheel over the knotted area. Lay a clean pin backing or wooden dowel, and gently press into place. Let dry (face down) for at least an hour.
Images via: 1/2/3/4/5/6/7/8/9/10/11/12/13/14/15/16/17/18.


